Suede can be cleaned at home, but the safest approach is drier and slower than most people expect. If you soak it, scrub it hard, or reach straight for soap, you can flatten the nap, leave tide marks, or set the stain more deeply into the leather. In most cases, the best results come from letting the shoes dry fully first, lifting dirt off gently, and treating marks in stages rather than all at once.
If you are looking up how to clean suede shoes at home, the main thing to know is that suede is less forgiving than smooth leather. You can usually deal with dust, light mud, scuffs and some spot stains yourself with a suede brush, a clean cloth, and a bit of patience. Deep oil marks, heavy salt staining, colour loss, or anything on expensive or sentimental shoes may be better left to a specialist cleaner or cobbler before a home fix makes the patch harder to reverse.
What to check before you start
First, make sure the shoes are actually suede. Real suede is made from the underside of leather and has a soft, brushed surface with a visible nap that changes shade when you stroke it in different directions. Nubuck looks similar but is made from the outer side of the hide and is usually finer and tighter in texture. Synthetic suede can react differently again, especially to cleaners and erasers. If the shoes still have their box, swing tag, or inner stamp, check for the material description there.
Next, look for any maker guidance. Some brands include a care leaflet in the box, and many put material and care information on the product page online. If the shoes are lined with other materials, have contrast trims, or include glued embellishments, those details matter. A cleaner that is acceptable on plain suede may not be suitable for metallic finishes, dyed panels, or delicate stitching.
Then decide whether home cleaning is sensible. It usually is for:
- dry dirt and dust
- light scuffs
- small water marks
- minor surface stains caught early
It may not be the best idea for:
- large grease stains
- ingrained mud over the whole shoe
- dye transfer
- mould
- cracked or stiffened suede
- shoes that have already been over-wet and dried hard
- very pale suede where patchiness will show easily
If the shoes are expensive, vintage, or structurally fragile, stop before experimenting. A local cobbler or specialist cleaner can often advise quickly just from seeing the stain in person.
Before you touch the visible upper, test any method on a small hidden area, such as the inside edge near the arch or the tongue. Suede can darken temporarily when damp, and some colours can shift more than others.
What you need for cleaning suede at home
You do not need a huge kit, but the right few tools make a noticeable difference. The most useful basics are:
- a suede brush, or a crepe suede brush
- a suede eraser, or a clean plain pencil eraser in a pinch
- a soft clean cloth, ideally lint-free
- kitchen paper or a white cloth for blotting
- shoe trees, or scrunched plain paper to hold the shape
- a small bowl of clean water
- a soft toothbrush or nail brush used very lightly for seams and welts
If you want one specialist product, make it a proper suede protector spray for future wear rather than a pile of aggressive cleaners. A brush and eraser will solve more day to day problems than most liquids.
Household substitutes can work carefully, but they are not equal to purpose-made tools. A plain white rubber can help with light scuffs. A clean nail file or emery board can sometimes lift a stubborn shiny spot very gently, but only with a feather-light touch. White vinegar or rubbing alcohol are common spot treatments for some marks because they evaporate more cleanly than water, but they still need testing first and should be used sparingly.
What to avoid:
- soaking the shoes
- putting suede in the washing machine
- using standard shoe polish
- using saddle soap unless the maker specifically allows it
- baby wipes or household cleaning wipes, which can leave residue
- bleach or stain remover sprays for laundry
- direct heat from a radiator, hair dryer, or tumble dryer
- coloured cloths that may transfer dye
For trainers or canvas shoes, machine washing is sometimes possible, but suede is a different case entirely. If you also have fabric trainers to deal with, our guide to washing trainers in a washing machine safely covers the situations where that method is and is not worth doing.
How to clean everyday dirt and marks step by step
The safest order is dry first, then targeted spot cleaning only if needed.
Start by removing the laces if the shoes have them. This lets you clean the tongue and eyelet area properly and stops dirty laces rubbing back onto the suede. Insert shoe trees, or stuff the toes with plain paper so the upper keeps its shape while you work.
If there is mud on the shoes, let it dry completely before doing anything else. Wet mud spreads quickly and pushes grit deeper into the nap. Once dry, knock the soles together outside or over newspaper to remove loose debris.
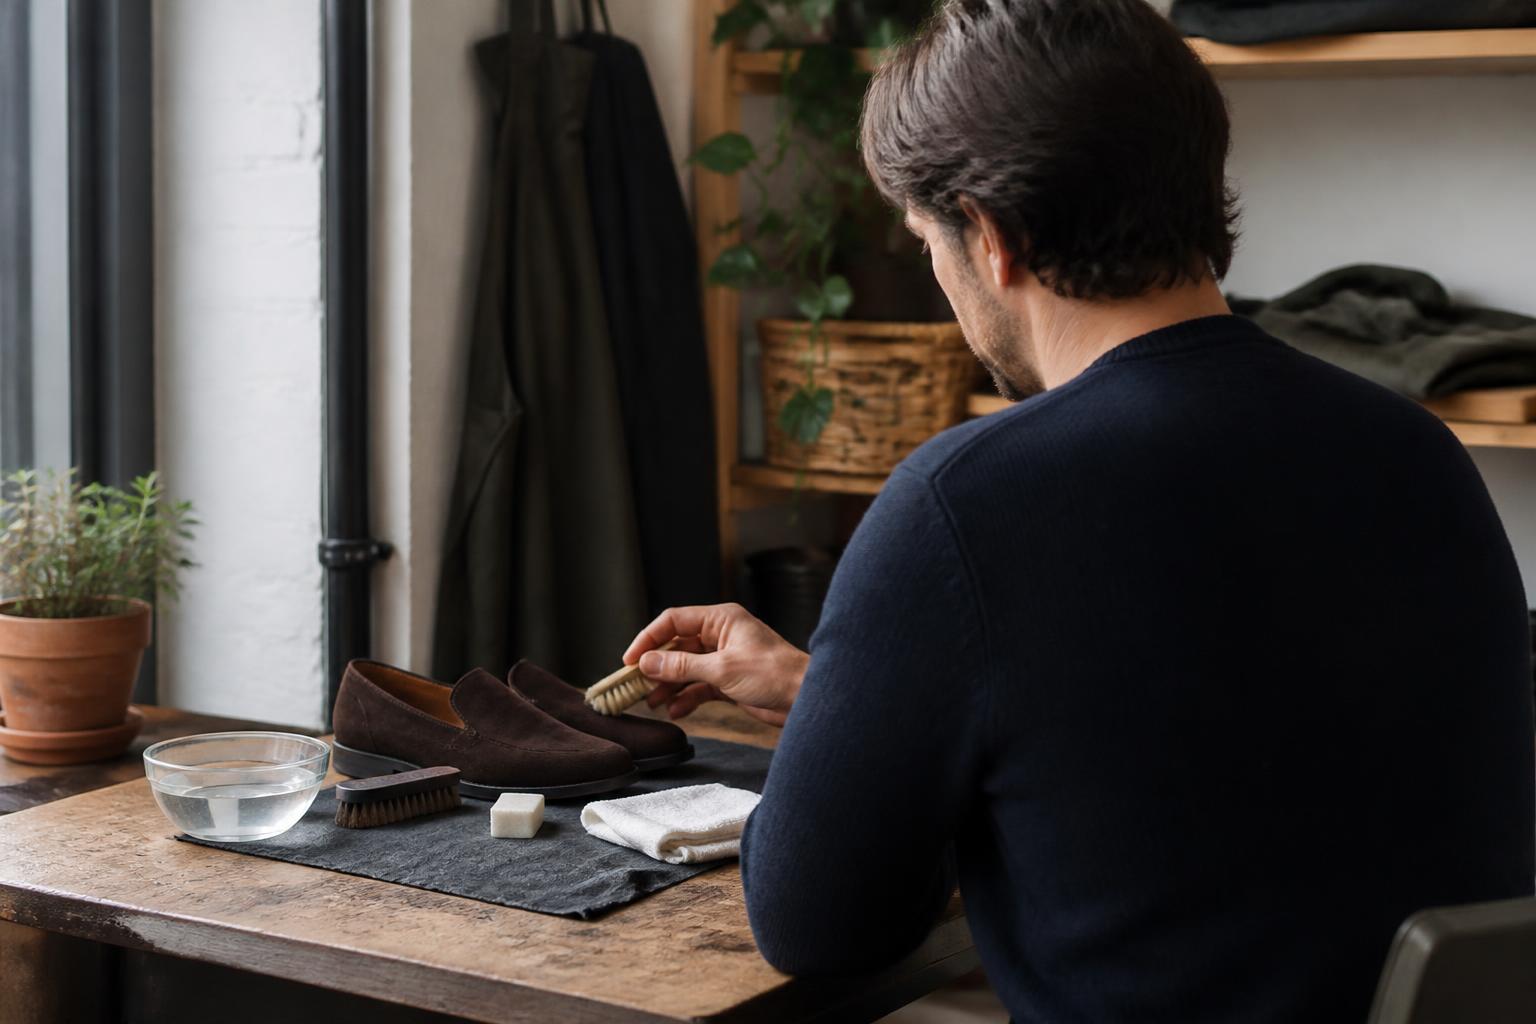
Now brush the suede gently. Use a suede brush with short, light strokes. Work in one direction first to lift surface dust, then vary the direction slightly where dirt is trapped. Do not bear down. The aim is to raise the fibres and release dirt, not scrub the surface flat.
Pay attention to seams, around the vamp, and near the welt where dust gathers. A soft toothbrush can help in these tighter areas, but use it with the same light hand.
For light scuffs or shiny flattened patches, use a suede eraser. Rub the mark gently and locally rather than over a wide area. You should see crumbs forming as the eraser lifts the surface dirt. Brush those away and reassess before repeating. On many marks, two or three light passes are better than one determined one.
If the mark remains after brushing and erasing, move to minimal moisture. Dampen, do not wet, a clean cloth with plain water and blot the area lightly. The trick with suede is to avoid creating one obvious wet patch surrounded by a dry ring. If you are treating a water mark or light general patchiness, it is often better to lightly dampen the surrounding area too so the colour dries more evenly. This should be a fine mist or a barely damp cloth level of moisture, not saturation.
Blot, then leave the shoes to dry naturally with paper inside. Once dry, brush again to restore the nap.
For light salt marks from winter wear, especially common in the UK where pavements and roads are treated in cold weather, first brush off dry residue. Then use a cloth just dampened with water to wipe the whole affected panel lightly rather than dabbing only the white line. In severe cases, a tiny amount of white vinegar diluted with water can help, but test it first and use as little as possible.
If you are cleaning second-hand finds, go slowly. Older suede can be drier and less stable than it looks. The same principle applies when buying shoes or clothing made from delicate fibres in the first place, which is why we always suggest learning how to choose fabric that lasts in a real wardrobe before spending money on something that may be high maintenance from day one.
How to deal with water marks, oil and tougher stains
Water marks are awkward because plain water is often what caused the problem. They usually appear when one area got wetter than the rest and dried with a visible edge. The fix is often controlled, even re-dampening. Lightly moisten the affected section and the area around it with a clean cloth so the moisture is more uniform, then blot and leave it to dry naturally with the shoe supported from inside. When dry, brush the nap up again. This does not always remove the mark completely, but it often softens the contrast.
Oil and grease are harder. If the stain is fresh, blot immediately with kitchen paper or a white cloth. Do not rub. Once blotted, you can cover the spot with cornflour or talcum powder to draw out some of the oil, then leave it for several hours before brushing away. This can help on a fresh spot, but it is less effective on an older stain that has already settled into the suede.
After that, use a suede eraser or brush gently. If the dark patch remains, stop before the area becomes rough or bald. Repeated rubbing can do more visible harm than the original mark.
For sticky or unknown stains, scrape off any surface residue carefully with the edge of a spoon or a blunt tool, then brush. If colour has transferred, for example from dark denim or a bag, home results are mixed. You may lighten the mark, but full removal is uncertain without affecting the dye of the shoe itself.
For dried-in marks around the toe or heel, a small amount of white vinegar or rubbing alcohol on a cloth or cotton bud can sometimes lift the stain more cleanly than water. Use only enough to dampen the cloth, not soak the suede. Blot, do not scrub, and work from the outside of the mark inwards. Then let it dry and brush again.
Know when to stop. Home cleaning has limits, and suede shows overworking quickly. If the nap starts to look rubbed away, the colour is shifting, or the stain is spreading, pause. A specialist may have access to colour-matched renovators, steam treatment, or professional suede products that are not worth improvising at home.
Drying, brushing and restoring the finish
Drying matters almost as much as cleaning. If suede dries too fast or with the wrong shape, it can stiffen, shrink slightly, or dry patchy.
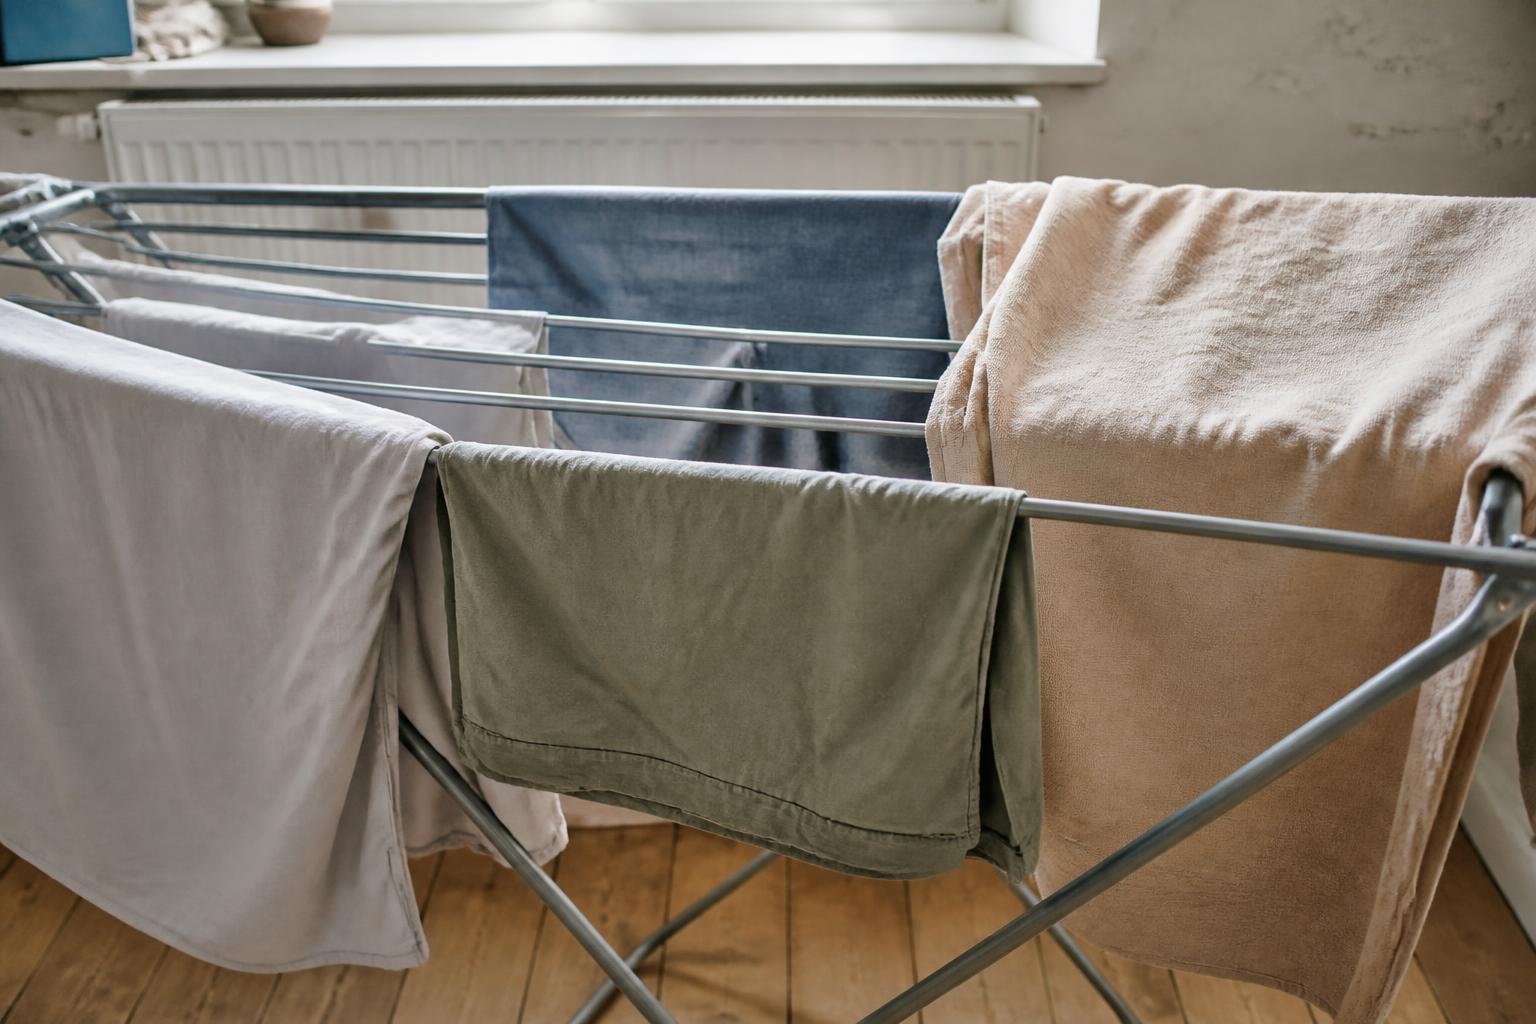
After any damp cleaning, blot away surface moisture with a clean cloth. Stuff the shoes with plain paper, not newspaper if the inside is pale, because print can transfer. Replace the paper if it becomes wet. Leave the shoes in a well-ventilated room away from direct sun, radiators, heated airers, or a hair dryer.
In the UK, this can be annoyingly slow in cold or damp weather, but forced heat is one of the easiest ways to spoil suede. A dry room with moving air is better than a hot one.
Once fully dry, brush the nap. This is the step that makes cleaned suede look like suede again rather than a dull, flattened patch. Use a suede brush in light strokes, then vary the direction where fibres are stuck down. For stubborn flattened areas, a crepe brush can help lift the pile more effectively than a smooth brush.
If one section still looks slightly darker or smoother, do not keep adding liquid. Often it just needs more drying time and a final brush. A very gentle pass with a suede eraser can reduce minor patchiness after the area has dried.
If the colour has faded slightly after stain removal, a suede renovator spray in the correct shade may help, but colour products are best treated cautiously. Always test first, apply evenly, and remember that a poor colour match can be more obvious than the original mark.
How to keep suede shoes wearable for longer
The easiest way to clean suede at home is not to let it get heavily soiled in the first place. That does not mean saving shoes for a perfect lifestyle that never happens. It means a few habits that reduce damage and make routine cleaning quicker.
Brush suede lightly after wear if it has picked up dust, especially around the toe and heel. This takes a minute and stops dirt settling in. If the shoes have got damp in light rain, let them dry naturally with paper inside, then brush them before putting them away.
Use a suede protector spray when the shoes are clean and dry, and reapply as the maker directs. It will not make suede waterproof, despite what some packaging implies, but it can buy you a bit more time against splashes and surface dirt.
Try not to wear suede in heavy rain, slush, or muddy conditions if you have another option. In the UK that is not always realistic, but suede does best as a dry-weather shoe rather than an all-conditions one.
Store them with support inside so they keep their shape. Shoe trees are useful, but plain paper works well enough for many pairs. Keep them out of cramped piles where the nap gets crushed. If storage space is tight, our guide to seasonal wardrobe storage that works in a small home has practical ways to rotate less-worn items without making them harder to reach or easier to damage.
If you are packing away shoes for part of the year, make sure they are fully clean and dry first. Dust, damp and pressure are what make stored items come back looking tired. The same logic applies to clothing storage more widely, and under-bed clothes storage that keeps garments wearable is often the difference between useful extra space and a hidden pile of creased, musty things.
Finally, accept that suede will age. A bit of softening, darkening at stress points, and a less box-fresh finish are normal signs of wear. The aim is not perfection. It is to keep the shoes clean, presentable, and comfortable enough to stay in your wardrobe instead of becoming another pair you stop wearing because one mark put you off.

Questions about this article or a correction to suggest? Get in touch. Read more about our editorial approach.