You can wash many trainers in a washing machine safely, but not all of them. Fabric, mesh and some synthetic sports shoes usually cope well with a gentle wash, provided they are in sound condition and you keep the temperature low. Leather, suede, nubuck and heavily structured trainers are much riskier, because water, heat and spin can warp the shape, weaken glues and mark the finish.
If you are wondering how to wash trainers in a washing machine without shortening their life, the short answer is this: check the care information first, remove laces and insoles, brush off mud, protect the shoes inside a laundry bag or pillowcase, use a cool gentle cycle with a small amount of liquid detergent, then air dry them well away from direct heat. The details matter, though, especially if you want them clean and still comfortable to wear.
When machine washing trainers is a good idea
Machine washing is usually a sensible option for everyday trainers made mainly from textile uppers, mesh panels, foam midsoles and rubber soles. Think running shoes, gym trainers and casual canvas-style pairs that have picked up general dirt, street dust, light staining or a bit of odour. If the shoes are already designed for regular sport and sweat, they are often better candidates for a careful machine wash than fashion trainers with decorative finishes.
It is a better idea when the dirt is widespread rather than localised. If both shoes are evenly grubby, the uppers are dusty, and the soles need a proper freshen-up, a full wash can be more efficient than chasing marks by hand. It is also useful when the lining has become stale and wiping the outside would not deal with the inside.
The higher-risk cases are fairly predictable. We would avoid machine washing if the trainers are made from or trimmed with:
- Leather
- Suede
- Nubuck
- Patent finishes
- Satin or delicate fashion fabrics
- Real or imitation shearling linings
- Cork details
- Jute or espadrille-style trims
These materials can stiffen, crack, lose colour, go rough to the touch or dry misshapen.
Construction matters just as much as material. Trainers with soles that are already lifting, visible glue lines, cracked foam, split mesh, loose eyelets or peeling overlays are poor candidates for a machine wash. Water gets into weak points, and the movement of the drum can turn a small fault into a proper repair job. If the pair is expensive, sentimental, hard to replace or bought second-hand with unknown age and storage history, caution is sensible.
Some brands do say certain models are machine washable, while others say not to do it at all. If the manufacturer gives a clear instruction, take that seriously. A washing machine is not automatically too harsh, but it is much less forgiving than hand cleaning if the shoe is built with delicate adhesives or layered trims.
What to check before you start
Before anything goes in the drum, look for a care label or care leaflet. On trainers, this is often tucked under the tongue, printed on the lining, or included on packaging rather than stitched in as a textile garment label would be. You are looking for any wording about washing, temperature limits, drying restrictions or a simple do-not-wash warning.
If you are not used to care symbols, our guide to reading washing symbols clearly helps with the basics, though shoes often rely more on written instructions than standard garment icons.
There are a few things that should stop the plan altogether, or at least make you switch to hand cleaning:
- The brand says machine wash is not recommended
- The upper includes leather, suede or nubuck panels
- The sole is separating from the upper
- The cushioning is crumbling or flaky
- There are holes in the mesh
- There is exposed foam around the collar or tongue
- Decorative trims are loose
- Metal parts are rusty
- The shoes have been contaminated with oil, paint or a substance that could transfer inside the machine
Do a quick structural check with your hands. Flex the sole gently. If you hear cracking or see gaps opening, stop. Press around the toe and heel. If the shoe feels unstable or the internal heel counter has collapsed, washing may make it worse. Check the insides too. Loose lining fabric, torn heel patches and bunching foam can all become more damaged in a wash.
Also think about stains. Mud and ordinary grime are one thing. Grease, tar, bike chain oil, grass treatment chemicals and strong dyes are another. A machine wash can set some stains, spread others, and leave the rest untouched. Those are often better treated as spot-cleaning jobs first.
If your trainers have a strong smell because they stayed damp after wear, the problem may be bacterial build-up in the insoles rather than dirt on the outside. In that case, replacing the insoles, washing them separately, or using a proper airing routine may help more than a full shoe wash.
How to prepare trainers for the wash
Preparation is what makes the difference between a useful clean and a noisy, disappointing one.
Start by removing the laces. They trap grime and stop the eyelet area from cleaning properly if left threaded in. Put the laces in a small mesh laundry bag, or wash them by hand in warm water with a little detergent. If they are very worn or permanently grey, replacement laces are often a cheap upgrade.
Take out the insoles if they are removable. Many insoles are glued only lightly or designed to lift out. Washing them separately is safer because they can hold water, dry slowly and come back curled if trapped inside the shoe. Hand wash them with mild detergent, rinse lightly and leave them to air dry flat. If they are orthotic insoles or specialist sports inserts, follow the maker's instructions instead.
Next, get rid of loose dirt before the shoes ever reach the machine. Let heavy mud dry first, then knock the soles together outside and brush off what you can. An old washing-up brush, nail brush or soft shoe brush works well. Pay attention to the tread, because compacted stones and dried mud can bang around in the drum and scratch the door glass.
If there are obvious marks, pre-treat them. A dab of liquid detergent on the stained area, worked in gently with a soft cloth or brush, is usually enough for general dirt. Do not soak the whole shoe in detergent. Do not use bleach. On white trainers, bleach can yellow some synthetics and weaken stitching.
For scuffs on midsoles, a cloth with diluted washing-up liquid is often enough before washing. If the uppers are clean and only the rubber edge is marked, you may not need a machine wash at all.
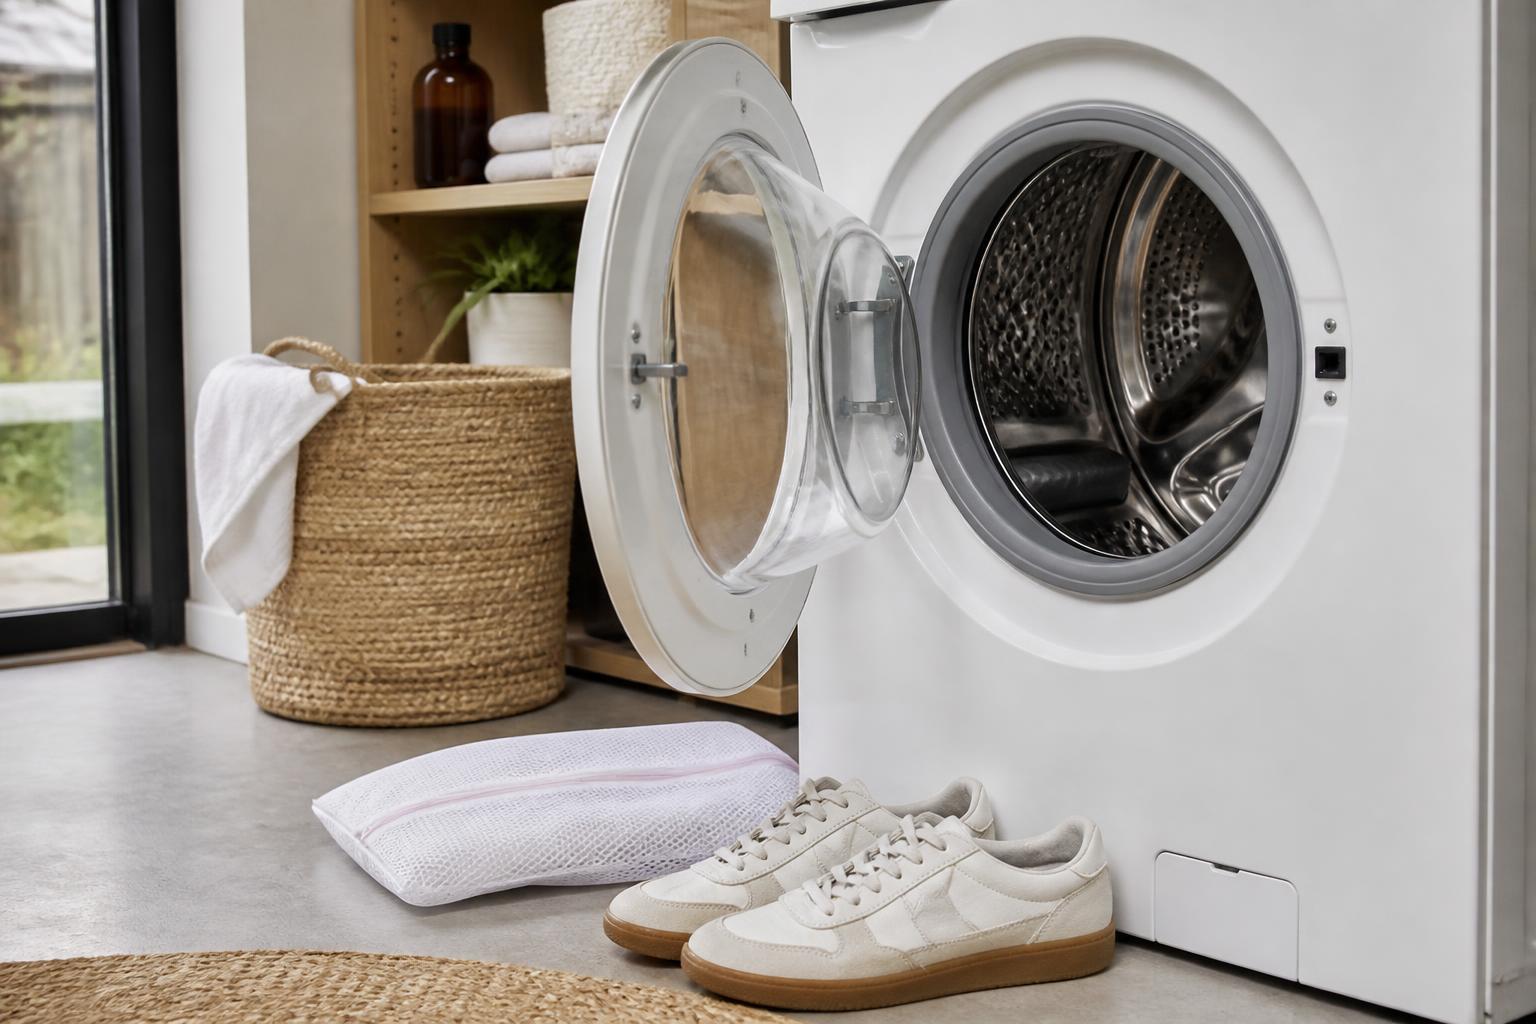
To protect both the shoes and the machine, put each trainer in a mesh laundry bag, or place the pair together in an old pillowcase tied loosely at the top. Then add a couple of old towels to the drum. The towels help cushion the impact, reduce banging and balance the load. Use towels you do not mind getting marked, especially if the shoes are dark or still a bit muddy.
A few practical points before you press start:
- Wash one pair at a time unless they are very light and the drum is roomy
- Do not add clothes you care about to the same load
- Check pockets of any towels or cloths used in the wash
- Make sure there is no loose mud left that could clog the filter later
Which washing machine settings are safest
The safest wash is a cool, gentle one. In most cases, 20C or 30C is the right range. Cooler water helps protect adhesives, foams and synthetic uppers. Hotter washes increase the risk of glue softening, colours running and shaped parts warping. If your machine has a sportswear, delicates or hand-wash cycle, one of those is usually better than a standard cotton wash.
Keep the spin low. If you can reduce the spin speed manually, do it. A high spin is hard on the structure of trainers and creates more noise and thumping. If your machine insists on a final spin, choose the lowest option available. The shoes will come out wetter, but that is a better trade-off than stressing the sole and upper.
Use a small amount of liquid detergent, not powder. Liquid detergent dissolves more easily in a cool wash and is less likely to leave residue in seams and mesh. Powder can sit in the fabric or leave pale marks if it does not dissolve properly. You do not need much. Too much detergent makes rinsing harder and can leave the shoes stiff or soapy.
Avoid fabric conditioner. It is not useful here and can leave a coating on technical fabrics or linings. Also avoid bleach and strong stain removers unless the manufacturer specifically allows them.
Load choice matters. Trainers should not be washed with heavy items like jeans or a full load of bath towels. That creates more impact and can knock the shoes out of shape. A couple of old towels for cushioning is enough. If your machine has a very small drum, consider whether the shoes can move too freely and bang around. In that case, hand washing may be kinder.
If you are generally cautious about what can and cannot go in the machine, our piece on whether merino wool can go in the washing machine safely covers the same principle from a different angle. The label, the fibre and the construction all matter more than wishful thinking.
How to dry trainers without ruining them
Never put trainers in the tumble dryer unless the manufacturer explicitly says you can, and even then we would be cautious. Tumble dryer heat is one of the quickest ways to shrink components, distort soles and weaken glues. The same goes for radiators, fan heaters, airing cupboard shelves directly above a boiler, and bright windowsills that become very hot.
The safest method is simple air drying at room temperature. As soon as the wash finishes, take the trainers out of the bag or pillowcase. Do not leave them sitting wet in the drum. Loosen the opening with your hands, straighten the tongue and reshape the toe box gently.
Stuff the shoes with clean, dry paper to help absorb moisture and hold the shape. Plain kitchen roll, unprinted packing paper or old newspaper can work, though newspaper ink can transfer to very pale linings. Change the paper as it becomes damp, especially in the first few hours. This speeds drying much more than people expect.
Set the trainers somewhere with good airflow, such as near an open internal doorway, a shaded utility room, or a dry spot indoors with a fan moving air nearby, not blasting directly with heat. Turn them occasionally so both sides dry evenly. If the insoles were removed, dry them separately and only put them back once both they and the shoes are fully dry.
Expect drying to take time. Thick soles and padded collars hold moisture. Wearing the shoes too soon can flatten the cushioning, trap damp inside and bring the smell back quickly.
To help them keep their shape:
- Reinsert the insoles only when everything is dry
- Lace them up loosely once nearly dry, to settle the fit
- Avoid stuffing too tightly, which can stretch the upper
- Check the toe and heel by hand before wearing, to make sure no damp remains
If white trainers look a little dull after drying, a wipe over the rubber foxing or midsole may be all they need. The wash does the deep clean, but finishing by hand often gives the best result.
When cleaning by hand is the better option
Sometimes a full machine wash is simply too much. If the issue is one stain, one muddy patch or a marked sole edge, hand cleaning is usually quicker and safer. A bowl of lukewarm water, a small amount of liquid detergent, a soft cloth and a soft brush will deal with a lot.
Hand cleaning is the better option for leather and suede, obviously, but also for trainers with mixed materials, glued-on trims, printed graphics, reflective details or memory foam-heavy interiors. It is also better for older trainers where the glue may have become brittle with age even if the shoes still look fine.
Spot cleaning works well for:
- Mud splashes on the upper
- Scuffs on rubber midsoles
- Small food or drink stains
- Dusty canvas
- Marks around the toe
If the main problem is odour, try washing or replacing the insoles first, then airing the shoes properly between wears. You can also wipe the inside with a barely damp cloth and mild detergent, then dry thoroughly. Constant machine washing is hard on trainers, so it is worth solving the actual problem rather than defaulting to a full wash every time.
Minor damage should be dealt with before any cleaning method that adds water. A loose stitch, small hole or lifting seam will not improve in the wash. The same repair-first logic applies across a wardrobe, and our guide on fixing a small hole before it spreads is built on exactly that principle.
There is also the common case where trainers look dirty because the soles are stained, not because the whole shoe needs washing. In that situation, a cloth, a brush and patient hand cleaning can save a lot of wear. The upper may only need a wipe. The machine should be the useful option, not the automatic one.
A good rule is this: if you would hesitate to soak the trainers in a basin, hesitate before putting them in a drum. Washing machines are convenient, but they are still a rougher environment than careful hand cleaning.
Used sparingly and sensibly, machine washing can extend the wearable life of everyday trainers. The key is not to treat every pair the same. Check the materials, respect the label, wash gently, and dry slowly. That is how to wash trainers in a washing machine safely, with a decent chance they will come out cleaner without coming out ruined.

Questions about this article or a correction to suggest? Get in touch. Read more about our editorial approach.