If a waterproof jacket, overtrousers or rain cape has a small tear, pinhole or snag, tape is often the quickest fix that still keeps weather out. The key is using a patch made for technical fabrics, applying it to clean, fully dry material, and resisting the urge to “improve” the job with stitching that creates more needle holes. Done properly, a taped patch can hold up well for everyday wear, dog walks, school runs and commuting.
The part that usually goes wrong is not the tape itself, it is the prep. Mud, body oils, detergent residue, a failing coating, or a patch placed across a seam can all shorten the life of the repair. A neat result comes from checking the fabric first, choosing the right patch shape and size, and following both the garment care label and the tape maker’s instructions.
When repair tape is the right fix
Repair tape for waterproof clothing is a self-adhesive patch or strip designed to stick to coated or laminated outerwear without sewing. Some are clear, some are coloured, and some are sold as pre-cut patches while others come on a roll. The better options are flexible enough to move with the fabric and smooth enough not to lift at the corners straight away.
It is a good fix for:
- Small holes from sparks, thorns or wear
- Short clean tears
- Snags that have turned into a split
- Abrasion spots before they become full holes
- Minor damage on waterproof jackets, shell trousers, packable macs and some ski wear
Tape is usually the better choice than stitching when the garment’s waterproofing depends on a membrane, laminate or coating. Sewing through that layer creates fresh holes, and unless you reseal the stitching properly from the inside, you can make leaks worse. On many modern shells, a patch on the outside is the least invasive repair.
It is also a sensible option when the damage is in a visible area and you want a tidy finish without paying for a workshop repair. For a small puncture on the chest, sleeve or lower leg, a well-cut patch can be quick, inexpensive and durable enough to extend the garment’s life by years.
That said, tape is not always the right answer. If the tear is long, if the fabric around it has gone thin and papery, or if the damage runs through a taped seam, a home patch may only be temporary. The same applies if the garment is highly technical, expensive, or needed for serious hill use where failure matters more. In those cases, a specialist outdoor repair service is often worth it.
If you are still deciding between patching and replacing, our guide on whether to mend it or move it on can help you think it through without overcomplicating it.
What to check before you stick anything down
Before opening the patch packet, check four things, the care label, the fabric type, the condition of the waterproof finish, and exactly where the damage sits.
Start with the care label. You need to know whether the garment can be washed, whether it can be tumble dried on low, and whether there are any warnings about heat, solvents or fabric softener. Some repair tapes are simply pressure-applied. Others bond better with gentle heat from a dryer or a warm iron used with a pressing cloth. If the garment label says no heat, that matters. If you need a refresher, our guide to how to read washing symbols without ruining clothes is useful before you start.
Next, look at the fabric and coating. Waterproof clothing is not all built the same way. A lightweight PU-coated festival mac behaves differently from a three-layer hillwalking shell. Some tapes adhere well to smooth nylon and polyester faces. Stretchy softshells, silicone-treated fabrics and very textured surfaces are trickier. If the outer fabric feels rubbery, very slick, heavily brushed, or unusually stretchy, the patch may struggle to stay flat for long.
Now check the overall condition. If the jacket is “wetting out”, meaning the face fabric darkens and soaks up water quickly, that is often a durable water repellent issue rather than a hole. A patch will not solve that. Likewise, if the inside coating is flaking, sticky or peeling, the garment may be breaking down with age. Adhesive patches need a stable surface. Sticking one onto a failing coating rarely lasts.
Dirt matters more than people expect. Waterproofs pick up sunscreen, skin oils, rucksack grime and detergent residue, all of which interfere with adhesion. Even if the tear looks clean, the surrounding area may not be. If the garment has not been washed for a while, wash and dry it first according to the care label.
Seam placement is another big one. If the hole sits right on a seam, over seam tape, or very close to a zip garage, cuff edge or pocket edge, getting a patch to seal properly is harder. You need full contact between patch and fabric. Raised stitching lines and bulky joins create channels where water can creep in and edges can lift.
Finally, think about stretch and friction. Knees, elbows, seat panels, underarms and backpack strap areas move and rub more than the middle of a sleeve or chest panel. Tape can still work there, but it has a tougher job. In high-movement spots, round patches with generous overlap usually outperform narrow strips with pointed ends.
If you are choosing between patch types, our piece on clothing repair patches that actually last goes into the differences in more detail.
How to apply repair tape neatly and help it last
Always follow any instructions that came with the patch, and any care restrictions on the garment itself. The method below is general guidance for most waterproof clothing, not a replacement for manufacturer directions.
1. Wash if needed, then dry completely
If the area is dirty, wash the garment first using the care label instructions. Use a cleaner suitable for waterproof clothing if you have one, or a mild detergent if the label allows it. Avoid fabric conditioner. Let the garment dry fully before repairing. Adhesive and trapped moisture are a poor mix.
If the garment is already clean, you can often spot-clean the repair area instead. Use plain water or, if the patch instructions allow, a little isopropyl alcohol on a lint-free cloth to remove grease. Test on an inconspicuous area first if you are unsure.
2. Trim loose threads and flatten the damage
Snip away any frayed fibres sticking up around the tear. Do not cut into sound fabric. If the tear edges overlap, gently ease them back into place so they sit as close together as possible without puckering. You want the fabric lying flat, not bunched.
For very small punctures, this may be all you need. For a short slit, take a moment to align the edges neatly before the patch goes down.
3. Cut the patch with rounded corners
If your tape comes on a roll, cut a patch that extends beyond the damage on all sides. A narrow margin is usually not enough. Give it enough surrounding fabric to grip properly. Rounded corners are important because square corners catch, lift and collect fluff more easily.
For a straight tear, an oval or rounded rectangle usually works well. For a pinhole, a small circle is often the neatest option.
4. Work on a flat surface
Lay the garment on a table so the damaged area is smooth and supported. If it is a jacket, make sure you are not accidentally sticking through both layers. Slip a piece of clean card or baking parchment inside if needed to keep layers separate while you work.
5. Apply the patch carefully
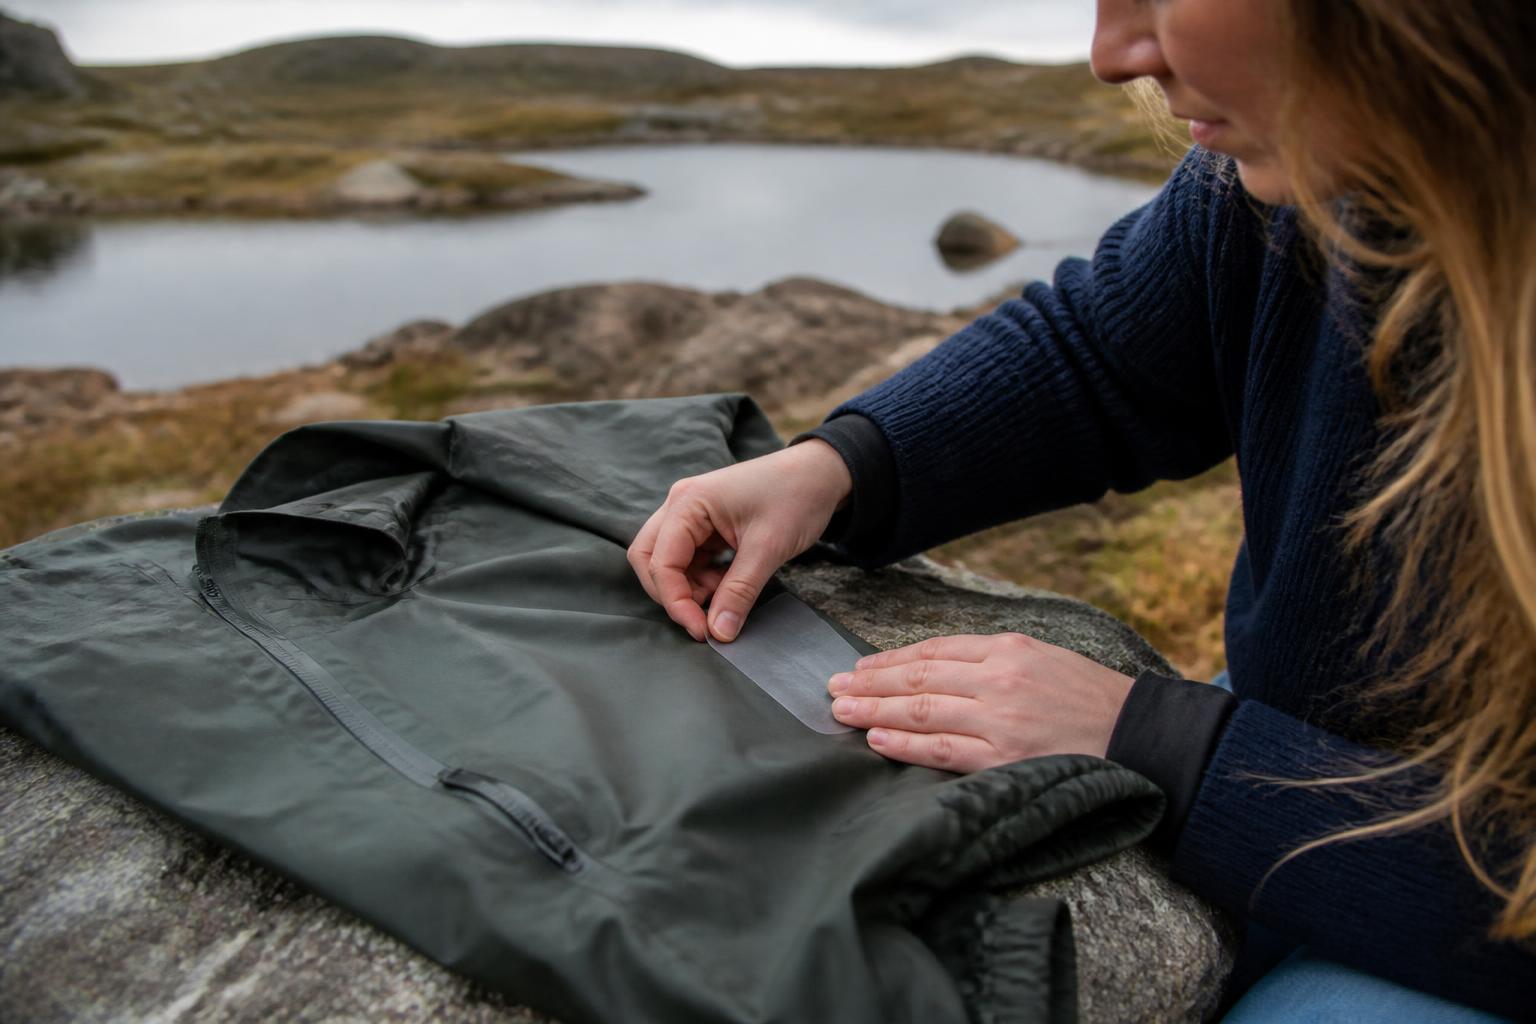
Peel back part of the backing first rather than removing it all in one go. Position the patch over the hole, then smooth it down gradually from the centre outward to push out air bubbles. Once it is in place, press firmly across the whole patch, especially the edges.
Some brands advise using the back of a spoon, a roller, or firm finger pressure for a set time. Others recommend a little heat after application. Use only what the patch instructions and garment label allow.
6. Let the adhesive settle
Even if the patch feels secure straight away, it often helps to leave the garment flat for several hours before wearing it. Some adhesives continue to bond as they rest. If the instructions give a curing time, follow that rather than rushing.
7. Consider an inside patch for extra support, only if appropriate
For some tears, especially slightly longer ones, a patch on the inside can support the area. But this is only worth doing if the inside surface is suitable and you can place it smoothly without interfering with lining, mesh or seam tape. On many waterproofs, one well-applied outer patch is the cleaner option.
A neat repair is usually a simple one. Oversized layers of tape, extra glue from the shed, or a line of “just in case” stitches tend to create stiffness and weak points rather than a better seal.
What repair tape can and cannot fix
Tape can fix a lot, but it is not magic.
It can usually deal well with isolated damage in otherwise healthy fabric. A thorn hole in a rain jacket sleeve, a burn spot from a campfire ember, or a short tear from catching a pocket on a gate latch are all classic patch jobs. If the surrounding material is strong and the patch has room to adhere, the result can be very serviceable.
What it cannot do is restore fabric that has worn out completely. If the outer layer has thinned across a large area, if the inside coating is crumbling, or if the garment leaks in multiple places, one patch will not reverse that decline. You may still patch it for short-term use, but it is no longer a proper waterproof fix.
Large rips are another limit. A long split under tension, especially across the shoulders, seat or knees, puts a lot of stress on adhesive. You may get a temporary hold, but repeated movement can cause the tear to reopen or the patch edges to peel.
Damaged seam tape is a separate problem. The narrow tape applied inside many waterproof garments is there to seal stitched seams. If that internal seam tape is lifting, bubbling or peeling away, an external patch over the area may not address the real leak path. Seam repairs often need specific seam-sealing products or professional attention, especially if several seams are failing.
High-friction areas deserve realistic expectations. Backpack straps, hip belts, cuffs, inner thighs and seat panels all rub repeatedly. Even a good patch may wear at the edges sooner there. In those spots, inspect the repair often and think of tape as maintenance, not a once-and-done solution.
It is also worth saying that not every “leak” comes from a hole. If rainwear feels clammy inside, the problem may be condensation from sweat rather than water ingress. If the face fabric has lost its water repellency, it can wet out and feel as though the jacket has failed even when the membrane is intact. In those cases, patching the fabric will not change much.
Peeling edges are the earliest sign that a taped repair is struggling. If you spot one corner lifting, do not ignore it and head out in heavy rain. Dirt and moisture will work underneath and make the patch fail faster. Sometimes replacing the patch with a larger, better-shaped one on a freshly cleaned area solves it. Sometimes the fabric itself is simply too compromised.
Washing, reproofing and checking the repair over time
Once the patch is on, normal care matters. Waterproof clothing generally lasts longer when it is washed properly, dried as the label allows, and reproofed when the outer fabric stops beading water. A patch does not change that.
For washing, follow the garment label first and the patch instructions second. In the UK, that practical order matters because the item in your wardrobe is the thing you can actually inspect, and brands do vary. Some patches cope perfectly well with machine washing at the temperatures usually recommended for waterproofs. Others prefer gentler treatment. Fasten zips, close hook-and-loop tabs, and avoid overloading the machine so the repair is not dragged against rough hardware.
Tumble drying can help reactivate DWR on some waterproof garments, but only if the care label permits low heat. If the label says do not tumble dry, do not assume a patch maker’s generic advice overrides it. The same goes for ironing. Gentle heat can improve some repairs, but not every fabric can take it safely.
Reproofing sprays and wash-ins can usually be used after a taped repair has fully bonded, again provided both product and garment instructions allow it. If the waterproofing problem is general wetting out rather than a specific hole, reproofing may make a bigger difference than patching. We cover the basics of ongoing maintenance in our guide to fabric care that keeps clothes wearable for longer.
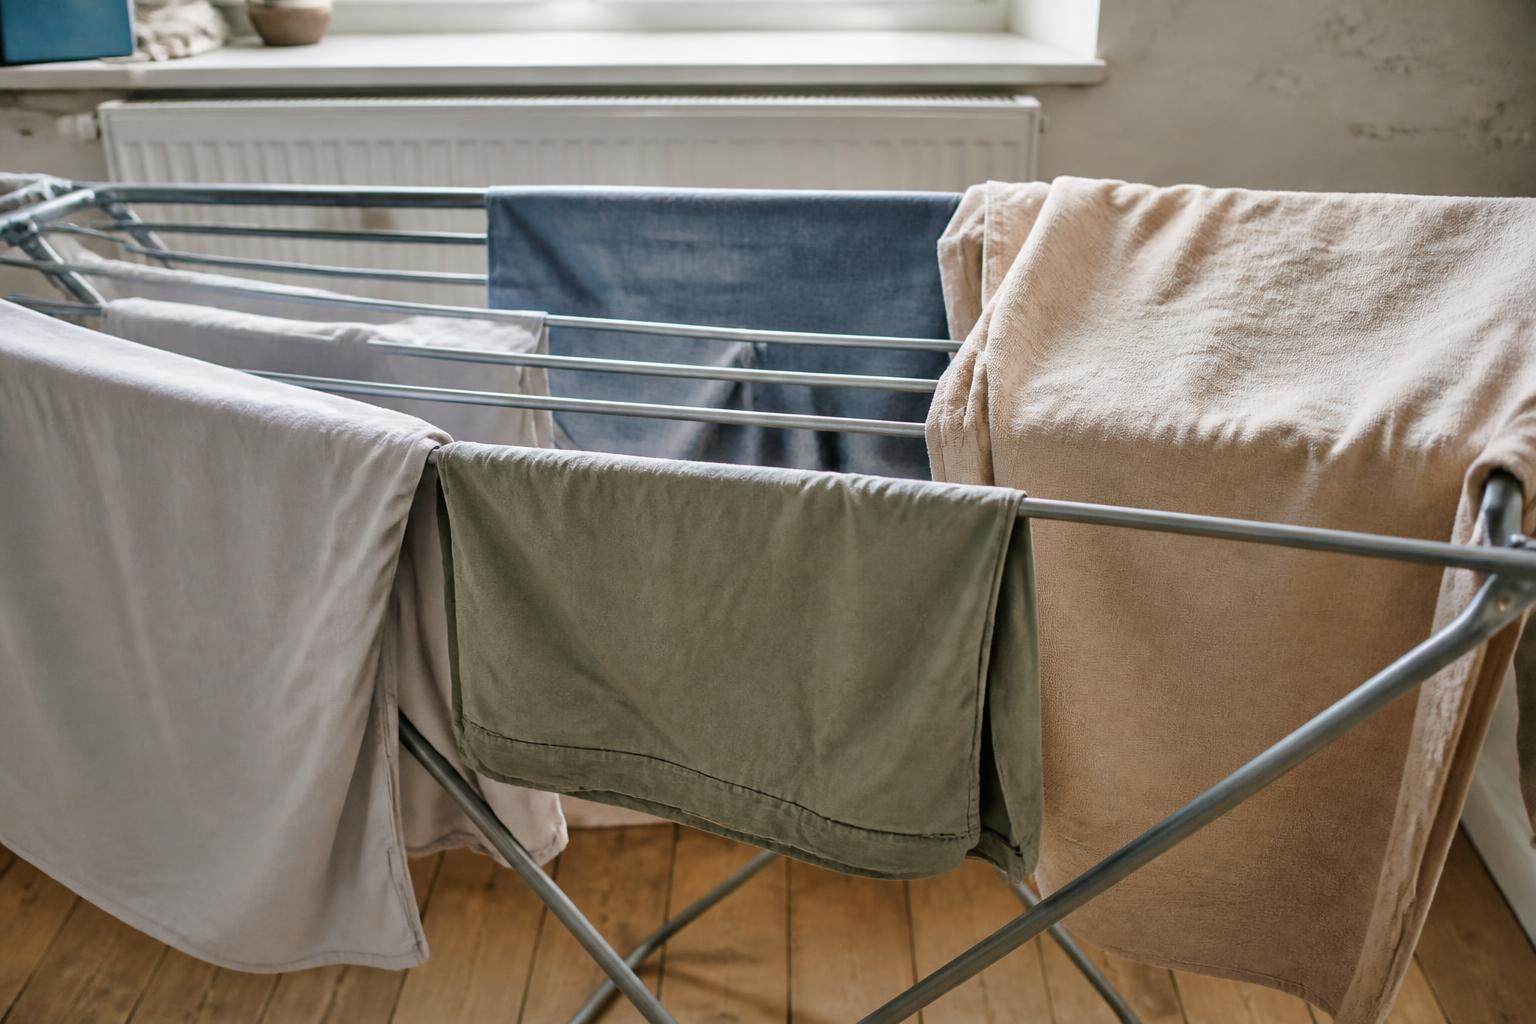
Storage matters too. Do not put a damp waterproof back into a boot bag, laundry pile or under-stairs heap and expect the patch to stay pristine. Let the garment dry properly after use, then hang or store it without hard creases across the repair. Constant folding on the same line can encourage edges to lift over time.
A simple check routine helps catch problems early:
- After washing, inspect the patch edges and corners
- After heavy rain, check whether moisture is getting in around the repair
- Press the patch lightly to make sure it still feels well bonded
- Look at the surrounding fabric for new wear, thinning or cracking
- If the patch has shifted, peeled or gone stiff and brittle, replace it before the next wet outing
If you rely on the garment regularly, for cycling, walking, school runs or work, give repaired areas a quick once-over every few weeks in season. It takes less time than dealing with a soaked-through jacket when you are already out the door.
A taped repair does not have to be invisible to be worthwhile. If it keeps a good coat in use for another year or three, that is a solid result. The aim is not perfection. It is a weatherproof fix that suits the garment, the damage and the life you actually lead.

Questions about this article or a correction to suggest? Get in touch. Read more about our editorial approach.