A loose button or open seam can keep an otherwise useful garment out of circulation. Learning a few small repairs helps you distinguish an easy job from one that needs a professional, and makes a neglected repair pile less intimidating.
Begin with ordinary everyday clothing and practise on spare fabric. This guide covers small cosmetic and structural repairs, not protective equipment, specialist technical garments or repairs where failure could create a safety risk.
Inspect before choosing the repair
Look closely at the fault in good light. Has stitching come undone while the fabric remains sound, or has the fabric itself worn thin or torn? Sewing the same line again may work for an open seam, but it will not restore the strength of fabric that has deteriorated around it.
Check the care label before adding materials. A patch, thread or fastening should suit the way the garment will be treated. The Clevercare symbol index can help if the instructions are unfamiliar.
Keep a small kit: appropriate hand-sewing needles, thread, small scissors, pins or clips, a seam ripper and a tape measure. You can add specialist tools when a real job requires them. An expensive kit is not a prerequisite for attaching a button.
1. Reattach a loose button
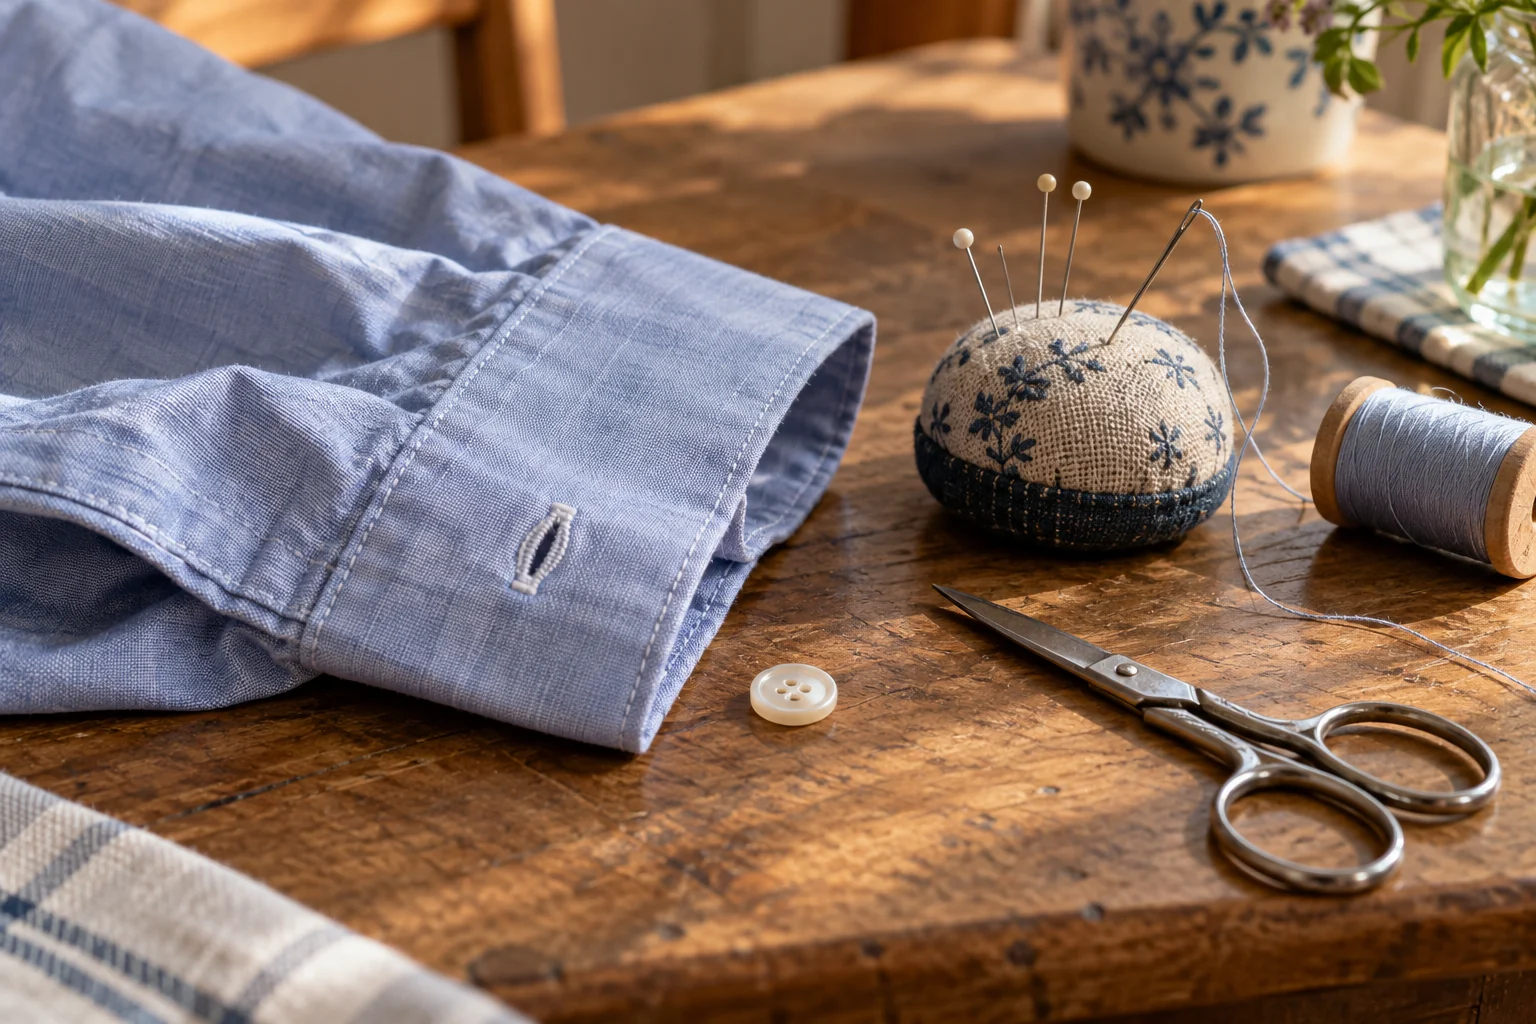
First note the button's position and how neighbouring buttons are attached. If the surrounding fabric is sound, remove unstable loose thread carefully, position the button correctly and secure it with repeated stitches through its holes or shank.
Leave the button enough working room for the thickness of the fastening fabric; stitching it rigidly flat can make it awkward to use. Finish securely on the reverse without creating a bulky knot that rubs against the wearer.
Test the fastening gently before wearing. If the fabric beneath the button is torn or thin, reinforcing or replacing that area is a separate job. Decorative, covered or specialist buttons may need a different approach, so compare the original construction before cutting anything away.
2. Close a short open seam
Turn the garment inside out and find where the original stitching has failed. If both fabric edges remain intact, align them and follow the existing seam line, beginning and ending in sound stitching rather than only covering the visible gap.
Choose a stitch and thread suitable for the fabric. Practise on a scrap first if the material stretches or slips. Pulling stitches too tightly can pucker the seam, while a rigid repair in a stretchy area may fail again.
Try the garment on and check movement after the repair. If the seam opens because the item is under strain when worn, more stitching may not solve the fit problem. An alteration or a different use for the garment may be the more durable answer.
3. Secure a dropped hem
Photograph the original fold and stitching before unpicking anything. Press or arrange the fold only in a way allowed by the care instructions, then hold it in position with pins or clips.
For a small dropped section, copy the existing method where practical. Take care not to pull the outer fabric into visible puckers. Keep the original length even, checking against the unaltered section rather than judging by eye alone.
An adhesive product is not automatically interchangeable with stitching. Check whether it suits the fabric, required heat and future care. For an expensive or delicate garment, ask an alteration specialist before applying something that may be difficult to remove.
4. Reinforce a small worn area
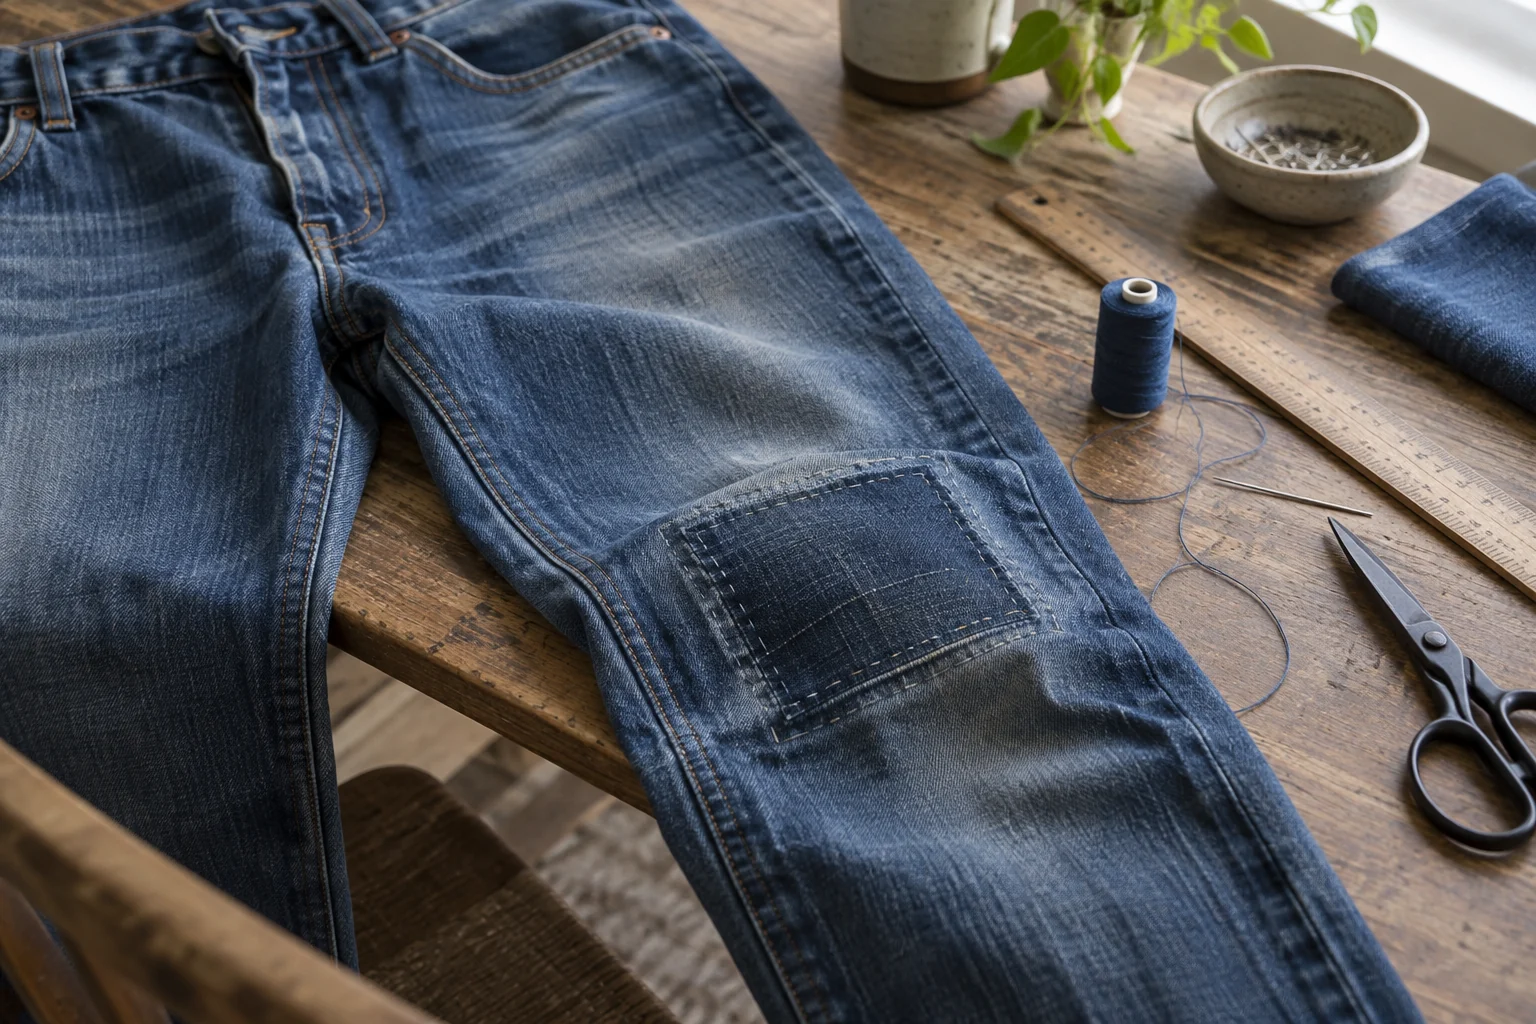
Where the surrounding material remains sound, a carefully chosen patch can support a localised worn spot. Match the patch's flexibility to the area: a very stiff patch on a soft garment can make the repair uncomfortable.
Secure it beyond the weak area into sound fabric. A visible repair can be an intentional design choice, while an internal patch may be less noticeable. Neither approach should be described as invisible restoration unless that is actually the result.
If the fabric is thinning across a large area, a small patch may simply move the strain elsewhere. A repairer can help judge whether the garment is worth more extensive work.
5. Replace a simple loose fastening
Hooks, eyes and press fasteners sewn onto sound fabric can often be resecured by following their original position and attachment points. Check alignment before stitching so the garment closes without pulling.
Keep the reverse comfortable and test the closure gently. Replacing a zip, dealing with specialised hardware or repairing a heavily loaded fastening is a different level of work. It is sensible to obtain a professional quote rather than dismantle a useful garment without a plan.
Make a repair queue you can finish
WRAP's clothing-use guidance includes repair and alteration among the factors that help clothes remain useful. Choose one small job, gather the materials and finish it before starting a large pile.
Afterwards, wear the garment and check the repair again. Keep notes on what worked, especially when you have matched a thread or button. A modest repair habit is valuable because it returns clothes to ordinary use, not because every job has to look like a professional demonstration.

Questions about this article or a correction to suggest? Get in touch. Read more about our editorial approach.